Easy Caramel Apple Danish with Crescent Roll Dough


If homemade danish sounds intimidating, don’t worry. We’re taking the shortcut route today with refrigerated crescent roll dough, and honestly? It’s one of my favorite ways to make bakery-style pastries feel doable for everyday home cooks.
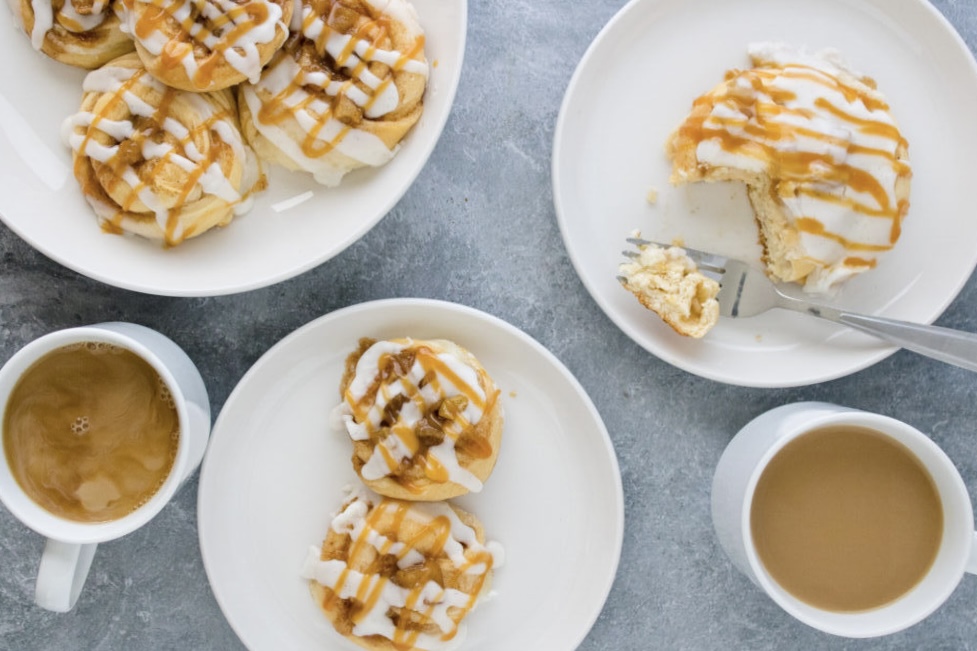
This Caramel Apple Danish is filled with warm cinnamon apples, sweet cream cheese filling, flaky layers, and plenty of caramel drizzle for the ultimate cozy fall breakfast or dessert. It looks impressive straight out of the oven, but the process is simple enough for beginner bakers.
As someone who loves a good kitchen shortcut, I’m always looking for ways to make homemade treats feel less complicated and more approachable. And this recipe does exactly that. You get all the cozy bakery vibes without spending hours making pastry dough from scratch.
Equipment You’ll Need
You don’t need any fancy baking equipment to make these easy Caramel Apple Danish pastries. That’s part of what makes this recipe perfect for beginner bakers and shortcut-style baking. Here’s what you’ll need:
- Large baking sheet
- Parchment paper
- Heavy-bottom saucepan or medium saucepan
- (2) Medium mixing bowls
- Knife and cutting board
- Whisk or hand mixer
- Spoon or cookie scoop for filling
- Cooling rack (optional, but helpful for icing)
Ingredients You’ll Need
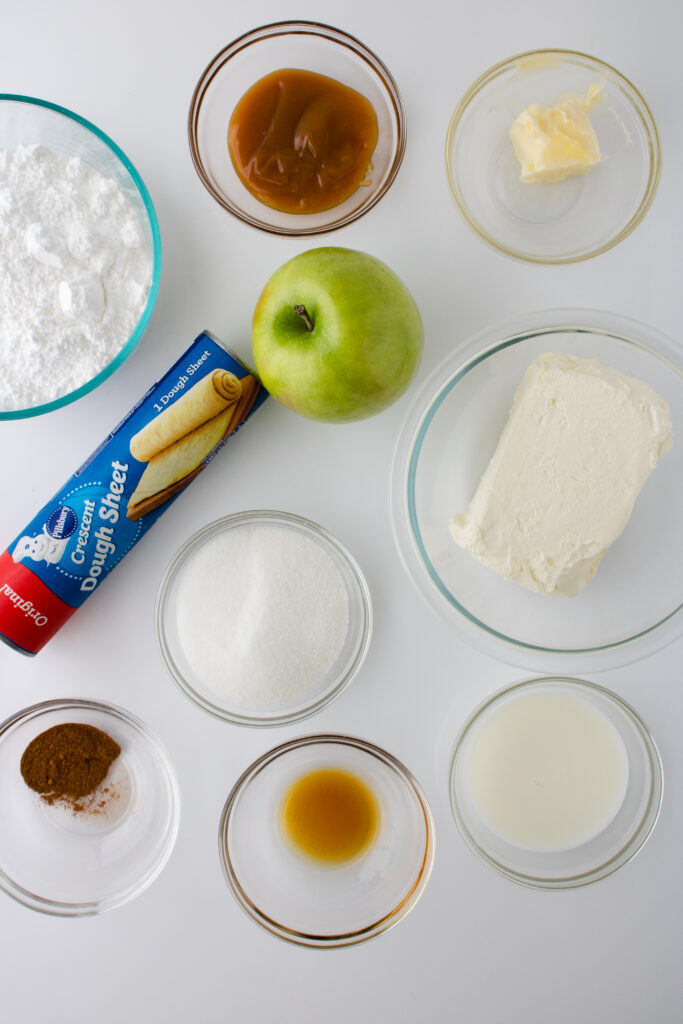
This easy Caramel Apple Danish recipe uses simple ingredients and shortcut baking staples to create a cozy bakery-style pastry without the stress of making dough from scratch.
Danish
- 4 oz cream cheese, softened
- 1/4 cup granulated sugar
- 1 can crescent sheet dough or 2 cans crescent rolls
- Cooked apple filling
Apple Filling
- 1 large or 2 small Granny Smith apples, peeled and diced
- 3–4 tablespoons unsalted butter
- 1 teaspoon apple pie spice
- 1/2 cup brown sugar
- 1 teaspoon vanilla extract
- 1 tablespoon cornstarch mixed with 1 tablespoon water
Icing
- 1 teaspoon vanilla extract
- 1 cup powdered sugar
- 2–3 teaspoons milk
Ingredient Notes
- Crescent Sheet Dough: Using refrigerated crescent sheet dough is one of my favorite shortcut baking tricks. It creates flaky layers without the extra work of homemade pastry dough, which makes this recipe perfect for beginner bakers.
- Granny Smith Apples: Granny Smith apples balance the sweetness of the caramel and brown sugar while holding their texture beautifully during cooking.
- Cream Cheese: Softened cream cheese mixes much more smoothly and gives the danish that creamy bakery-style filling.
- Apple Pie Spice: This simple shortcut adds cozy fall flavor without needing multiple individual spices.
How to Make Caramel Apple Danish
Step 1: Preheat the Oven
Preheat your oven to 350°F and line a baking sheet with parchment paper. Set aside while you prepare the filling and danish dough.
Step 2: Make the Apple Filling
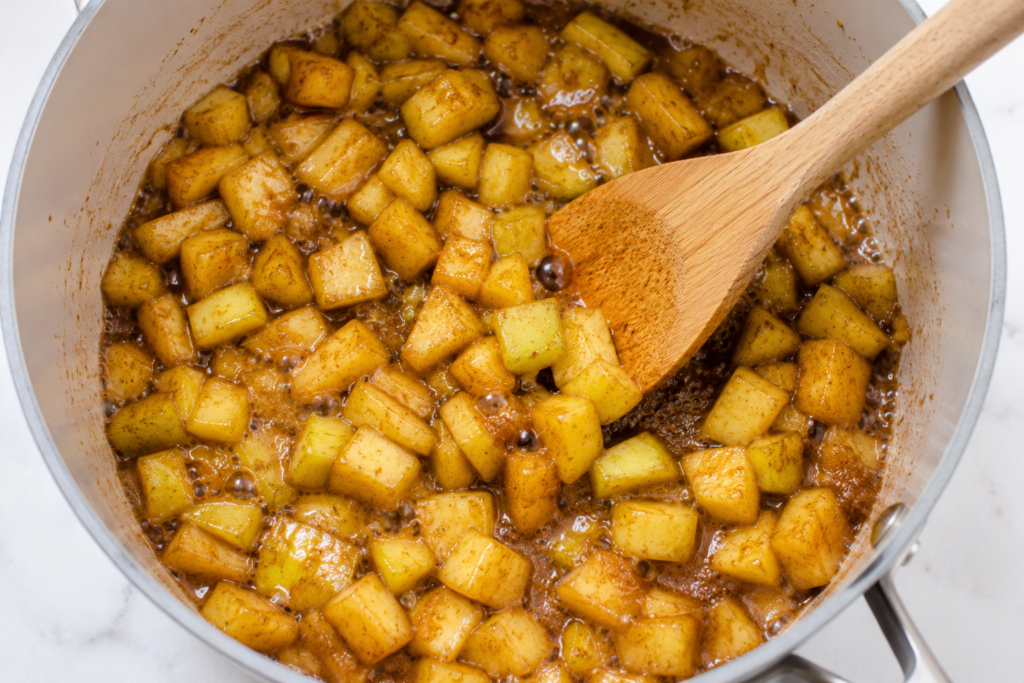
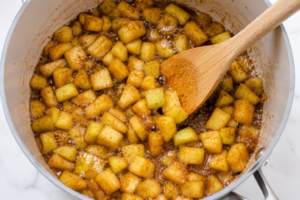
Melt the butter in a saucepan over medium heat. Add the diced apples, brown sugar, and apple pie spice, stirring to coat the apples evenly. Bring the mixture to a gentle boil to help soften the apples.
Step 3: Thicken the Filling
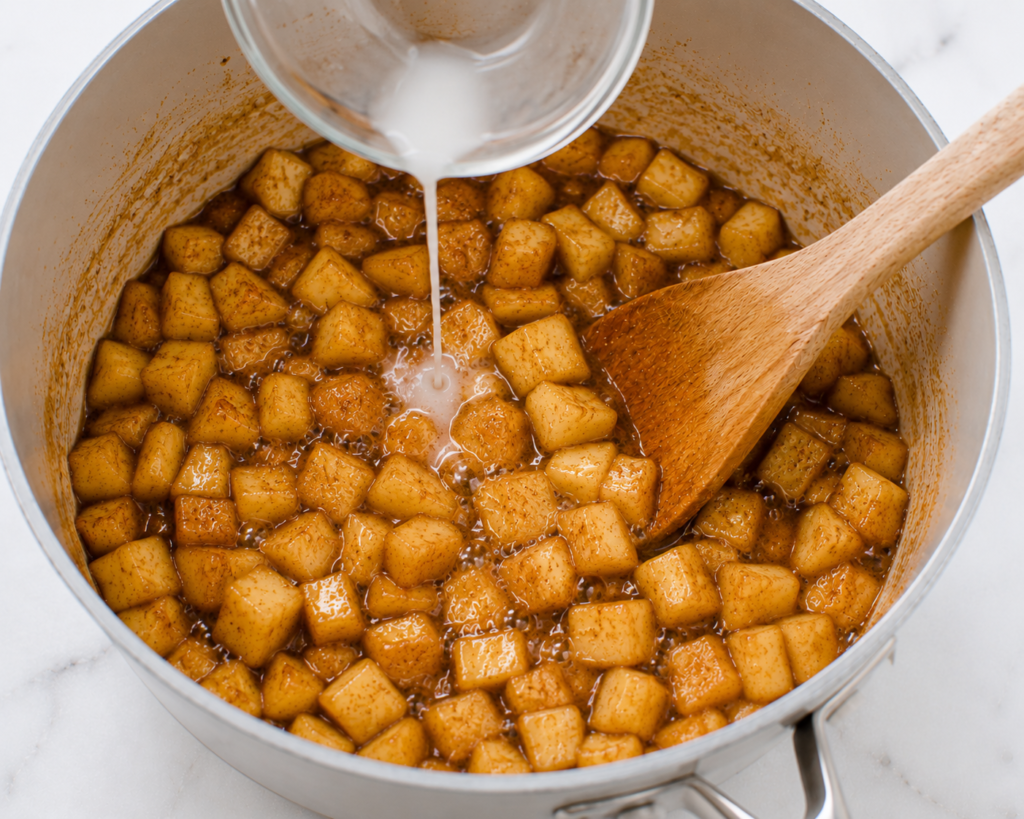
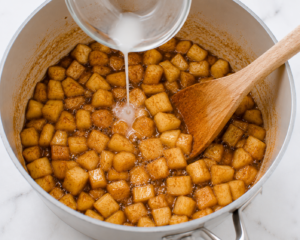
In a small bowl, whisk together the cornstarch and water to create a slurry. Pour it into the apple mixture along with the vanilla extract and stir well.
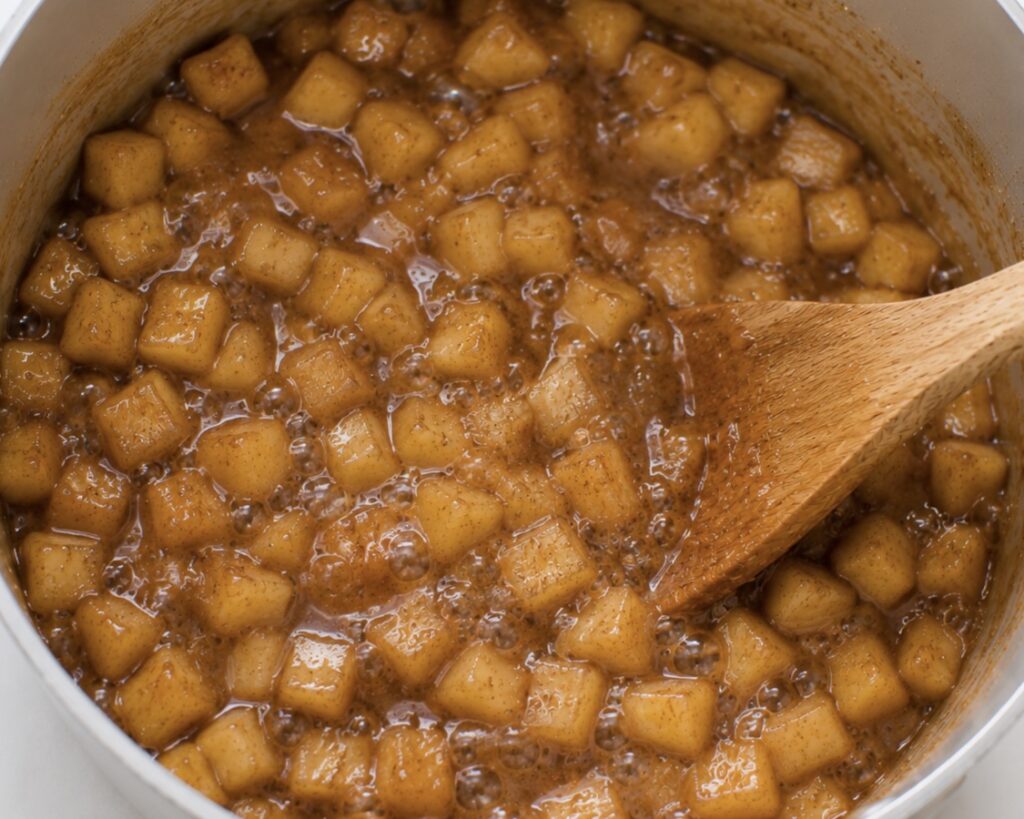
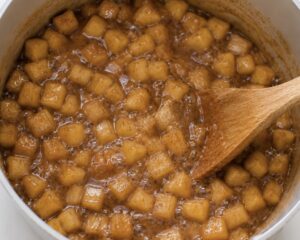
Bring the mixture back to a boil, then reduce the heat to low. Let it simmer for 3–4 minutes, or until the filling thickens slightly.
Transfer the apple filling to a bowl and let it cool while you prepare the danish.
Step 4: Make the Cream Cheese Filling
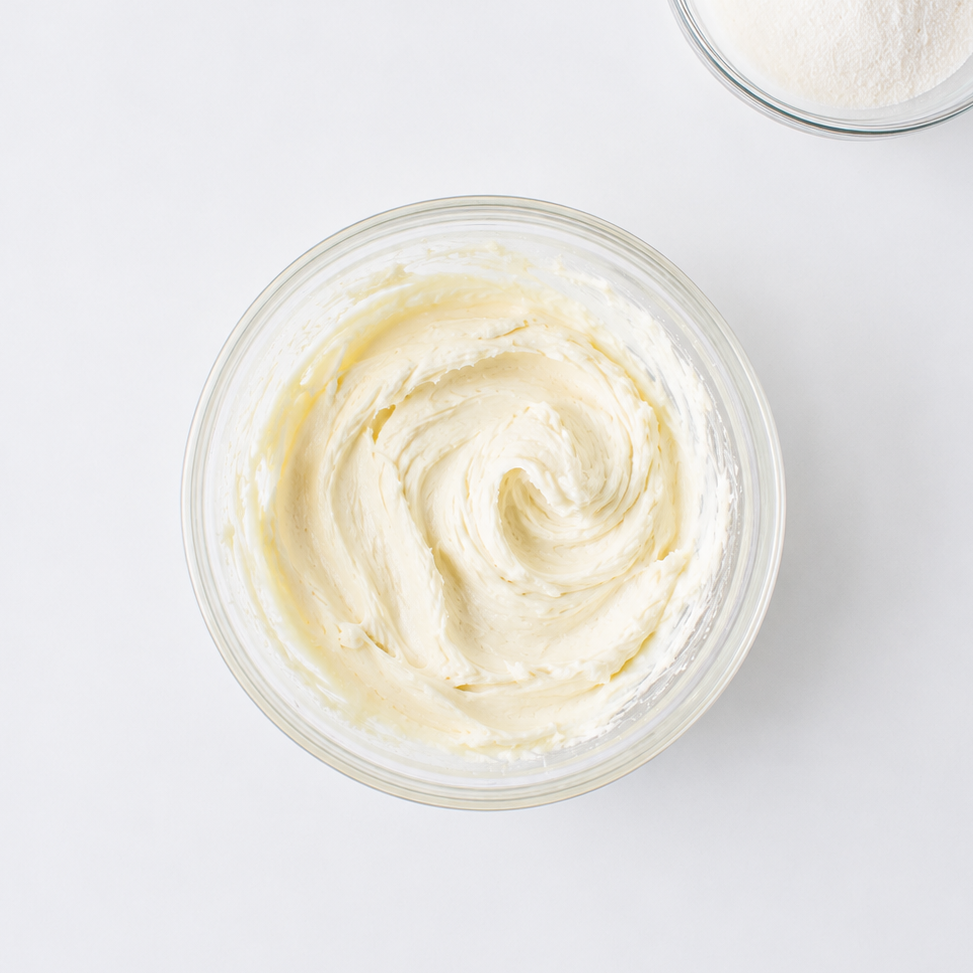
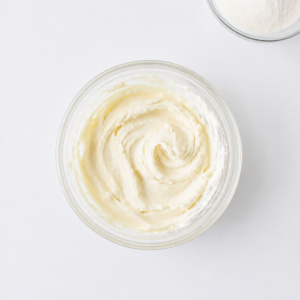
In a small bowl, mix together the softened cream cheese and sugar until smooth and creamy.
Step 5: Prepare the Crescent Dough
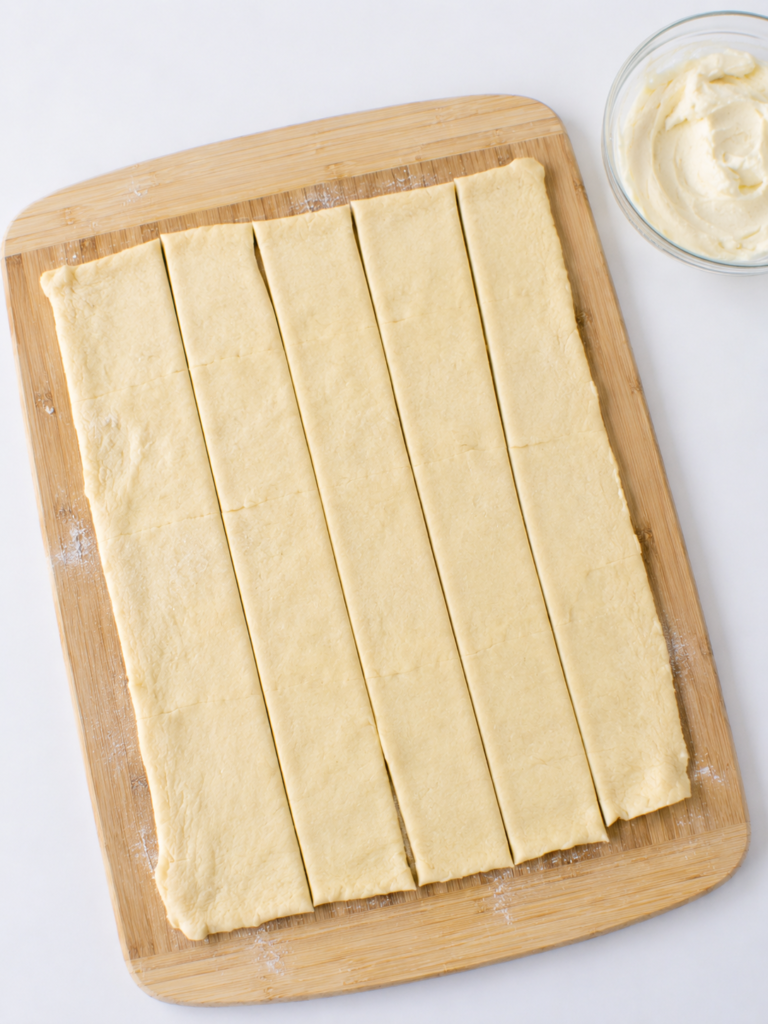
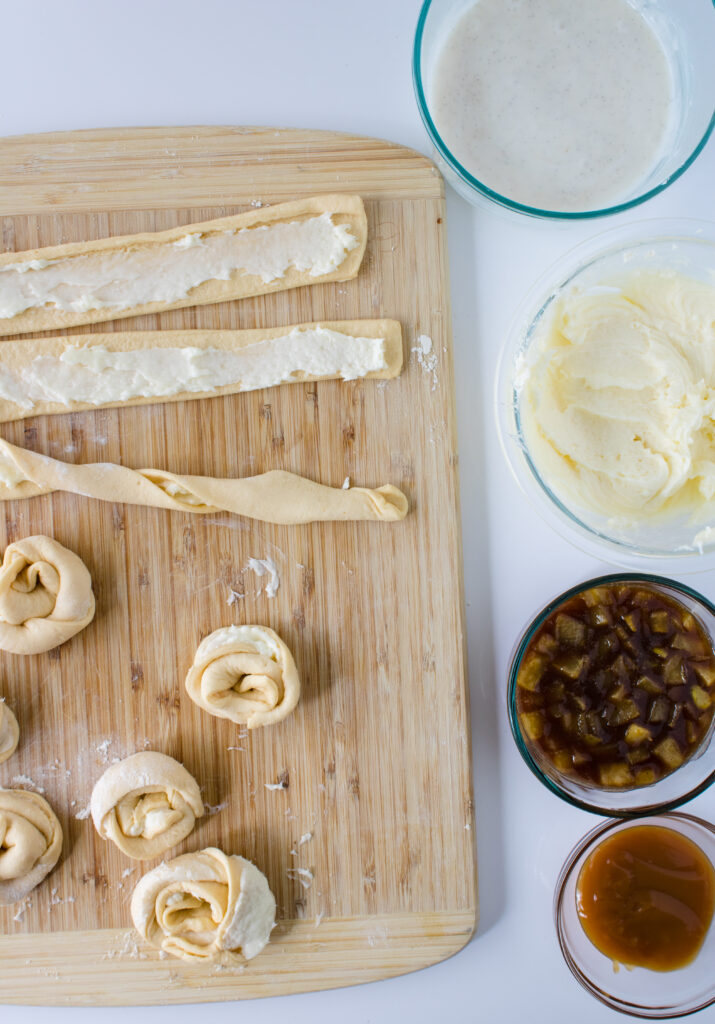
Roll out the crescent sheet dough onto a clean surface. If using crescent rolls instead of a sheet, pinch the seams together to create one large rectangle. Slice the dough into rectangles.
Step 6: Fill and Shape the Danish
Spread about 3 tablespoons of the cream cheese mixture onto each rectangle of dough.
Starting from the long side, gently roll and twist the dough at the same time to create a lightly braided look. Continue until the dough is about 10 inches long.
Loosely spiral the dough and tuck the seam underneath. Place the shaped danish onto the prepared baking sheet.
Use the back of a spoon to gently press down the center of each danish to create a space for the filling.
Step 7: Add the Apple Filling
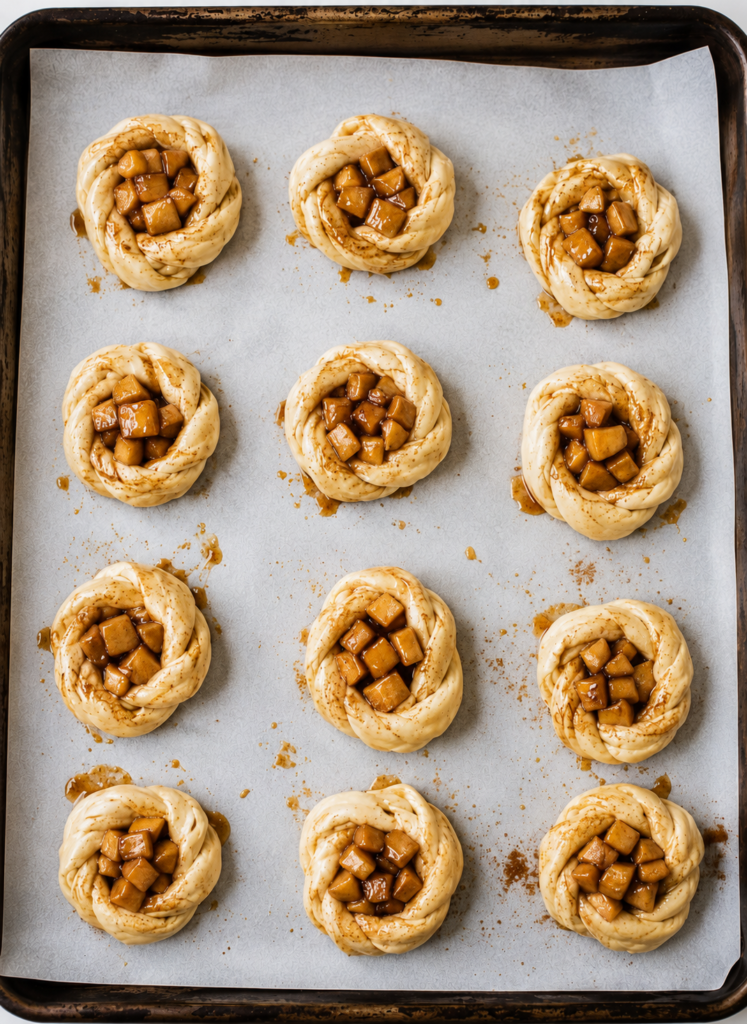
Spoon 1–2 tablespoons of the cooled apple filling into the center of each danish.
Step 8: Bake the Danish
Bake for 22–25 minutes, or until the danish are golden brown and flaky.
Step 9: Make the Icing
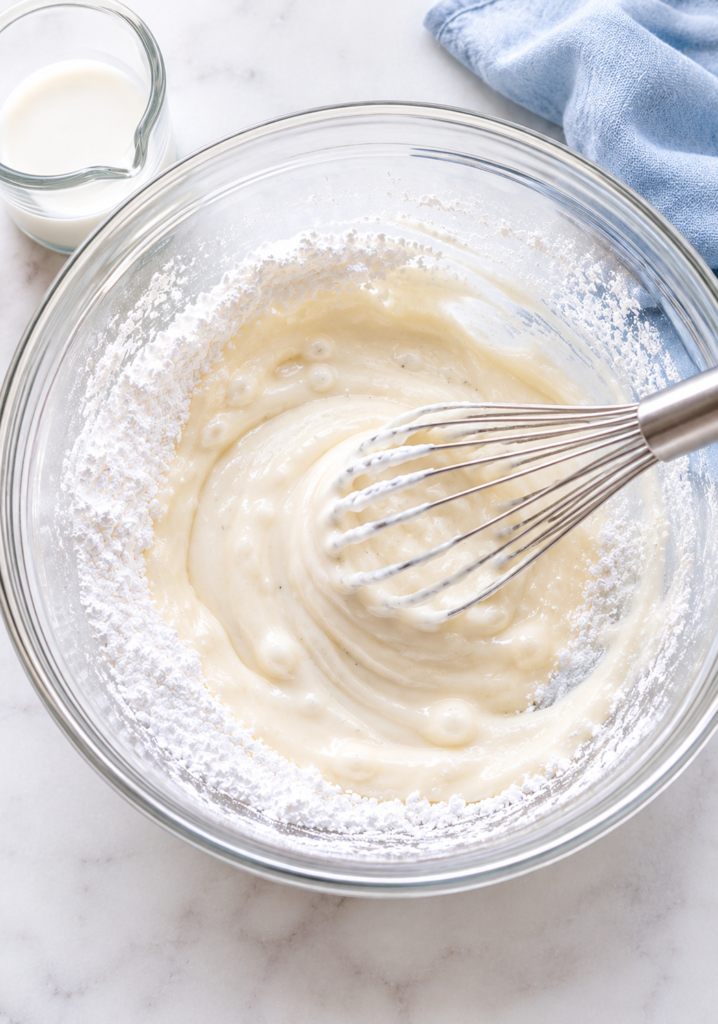
While the danish cool, whisk together the powdered sugar and vanilla extract in a bowl. Add the milk a little at a time, mixing until the icing reaches your desired consistency.
Step 10: Drizzle and Serve
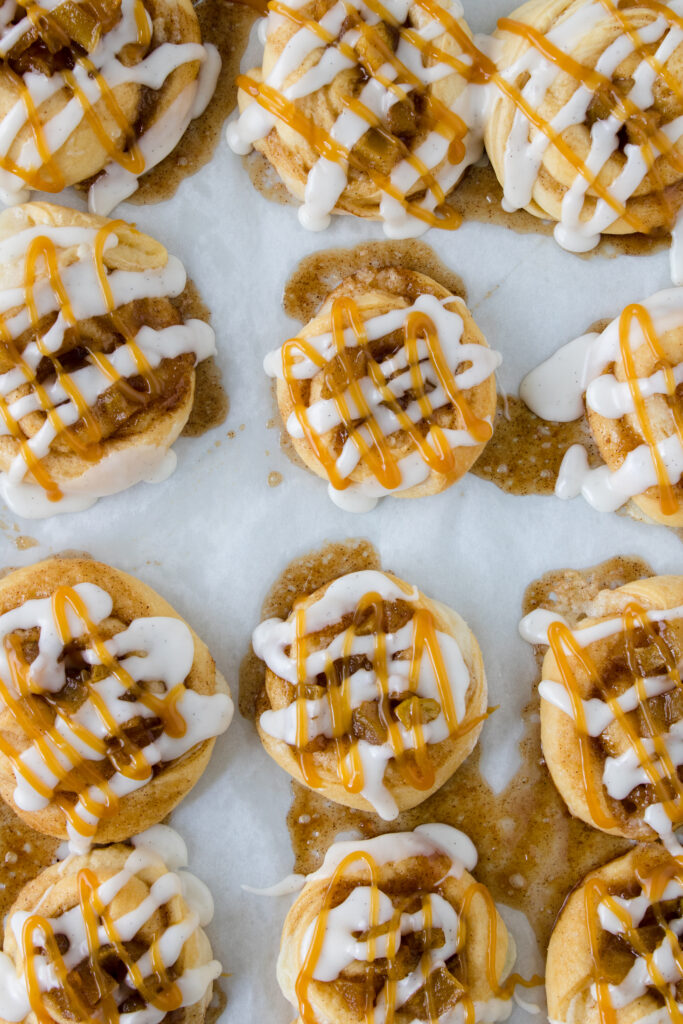
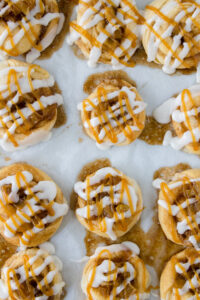
Allow the danish to cool for 10–15 minutes before drizzling with icing and caramel sauce. Serve warm and enjoy!
Tips for Success | Recipe Notes
- Use crescent sheet dough if possible. It saves time and gives you smooth, easy-to-work-with pastry without worrying about sealing seams. If using regular crescent rolls, pinch the seams together well before cutting.
- Let the apple filling cool slightly before assembling. Hot filling can soften the dough too much and make the danish harder to shape.
- Don’t overfill the centers. About 1–2 tablespoons of filling is plenty. Too much filling can spill over while baking.
- Keep the dough loosely twisted. The pastries don’t need to look perfect. A slightly messy, rustic shape actually bakes up beautifully.
- Watch the liquid in the apple filling. If the filling seems overly runny, let it simmer another minute or two so it thickens properly before using.
- Bake until lightly golden brown. The dough should look puffed and golden around the edges, not pale or doughy in the center.
- Let the danish cool before icing. If they’re too warm, the icing will melt right off instead of sitting beautifully on top.
- Drizzle the caramel after the icing. This helps both toppings stand out and gives the pastries that bakery-style finish.
Make Ahead Tips
Want to get ahead for brunches, holidays, or busy mornings? These Caramel Apple Danish are very make-ahead friendly.
- Make the Apple Filling Ahead: The homemade apple filling can be made up to 3 days in advance and stored in an airtight container in the refrigerator. Let it cool completely before storing.
- Assemble Ahead of Time: You can fully assemble the danish a few hours ahead of baking. Arrange them on the parchment-lined baking sheet, cover loosely with plastic wrap, and refrigerate until ready to bake.
- Add the Icing Fresh: For the best texture and appearance, wait to add the icing and caramel drizzle until just before serving. This keeps the pastries looking fresh and bakery-style instead of overly soft.
Storage & Freezer Instructions
- Storage: Store leftover Caramel Apple Danish in an airtight container in the refrigerator for up to 3 days. Because of the cream cheese filling, these pastries are best kept chilled once fully cooled.
- Reheating: For the best texture, warm the danish in the microwave for 10–15 seconds or in a 300°F oven for a few minutes until slightly warmed through. The pastry will soften again and the apple filling becomes extra cozy.
- Freezing: You can freeze the baked danish before adding the icing and caramel drizzle. Place the cooled pastries on a baking sheet until frozen solid, then transfer them to a freezer-safe container or bag for up to 2 months.
- To Serve From Frozen: Thaw overnight in the refrigerator or at room temperature for about 1 hour. Warm slightly before serving, then drizzle with fresh icing and caramel sauce for the best bakery-style finish.
What to Serve With Caramel Apple Danish
These easy Caramel Apple Danish pastries pair perfectly with cozy breakfast and brunch favorites. Whether you’re serving them for a holiday gathering or a slow weekend morning, here are a few delicious ideas to round out the menu.
- Crispy bacon or homemade turkey sausage
- Scrambled eggs or a breakfast casserole
- Hot coffee or homemade lattes
- Apple cider or chai tea
- Fresh fruit or yogurt parfaits
- Cinnamon rolls or other brunch pastries
- Vanilla ice cream for a dessert-style serving
These danish also make a beautiful addition to holiday brunch spreads during fall and winter gatherings.
Variations & Add-Ins
- Use Apple Pie Filling Shortcut: Want to save even more time? Swap the homemade apple filling for canned apple pie filling. Just chop the apples into smaller pieces so they fit neatly into the center of the danish.
- Add Chopped Pecans or Walnuts: For extra crunch and cozy fall flavor, sprinkle chopped pecans or walnuts over the apple filling before baking.
- Try a Cream Cheese Center: For an extra bakery-style twist, spoon a little extra cream cheese filling into the center before adding the apples. It makes the danish even creamier and richer.
- Use Different Apples: Granny Smith apples add a tart flavor that balances the sweetness, but Honeycrisp, Fuji, or Gala apples also work beautifully in this recipe.
- Add Extra Warm Spices: Boost the cozy flavor with a pinch of cinnamon, nutmeg, or even a little cardamom mixed into the filling.
- Turn Them Into Mini Cheesecake Danish: Increase the cream cheese filling slightly and reduce the apple filling for a creamier, cheesecake-inspired variation.
- Drizzle With Salted Caramel: Swap traditional caramel sauce for salted caramel sauce to add a sweet-and-salty flavor that pairs perfectly with the apples.
- Add a Bakery-Style Crunch: Sprinkle coarse sugar over the edges of the dough before baking for a lightly crisp, bakery-style finish.
- Make Them Extra Fall-Themed: Add a tiny splash of maple extract to the icing or sprinkle the finished danish with apple pie spice for even more cozy fall flavor.
FAQ’s | Frequently Asked Questions
Yes! If you want to save even more time, canned apple pie filling works well in this recipe. Just chop the apples into smaller pieces if they’re too large for the center of the danish.
Absolutely. If using crescent rolls, simply pinch the seams together to create one large sheet of dough before cutting and shaping the pastries.
Not at all! The twisted dough shapes are meant to look rustic and homemade. Slight imperfections actually make them look more bakery-style once baked.
The filling likely needs a little more simmer time. Continue cooking for another minute or two until the mixture thickens slightly and the sauce looks glossy instead of watery.
Yes. You can prepare the apple filling ahead of time or fully assemble the danish a few hours before baking and refrigerate them until ready to bake.
Yes, but the texture will be different. Puff pastry creates a flakier, more delicate pastry, while crescent dough gives these danish a softer, more approachable bakery-style texture.
The pastries should be puffed and lightly golden brown around the edges. The bottoms should look baked through and no longer doughy.
Definitely. Chopped pecans or walnuts pair beautifully with the caramel apple flavors. You can also drizzle extra caramel sauce on top before serving.
Yes! Since this recipe uses refrigerated crescent dough instead of homemade pastry, it’s a fun beginner-friendly baking recipe that kids can help shape and fill.
Related Recipes
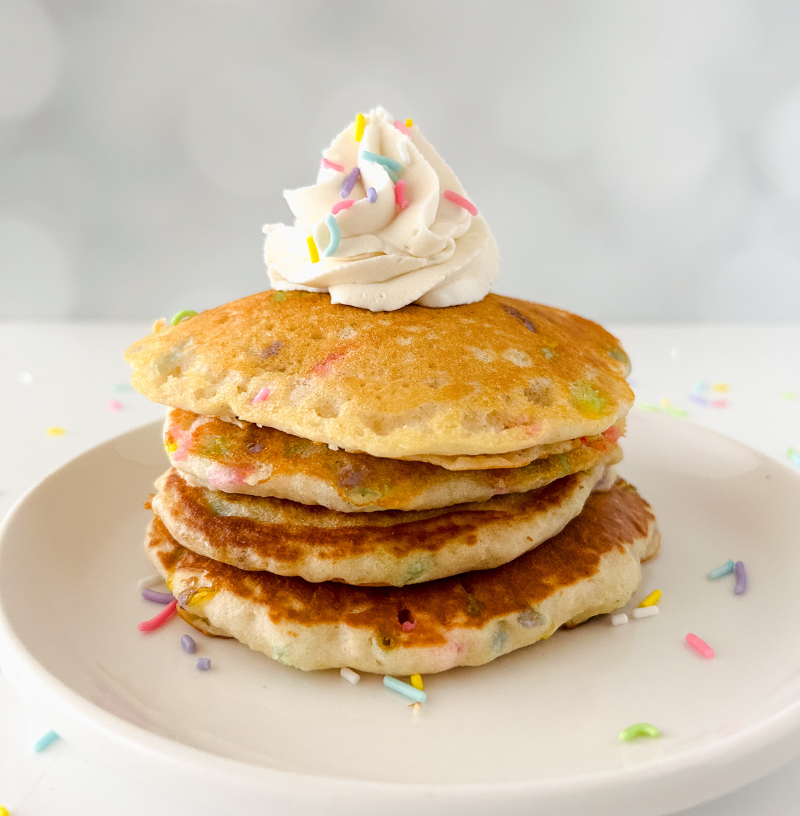
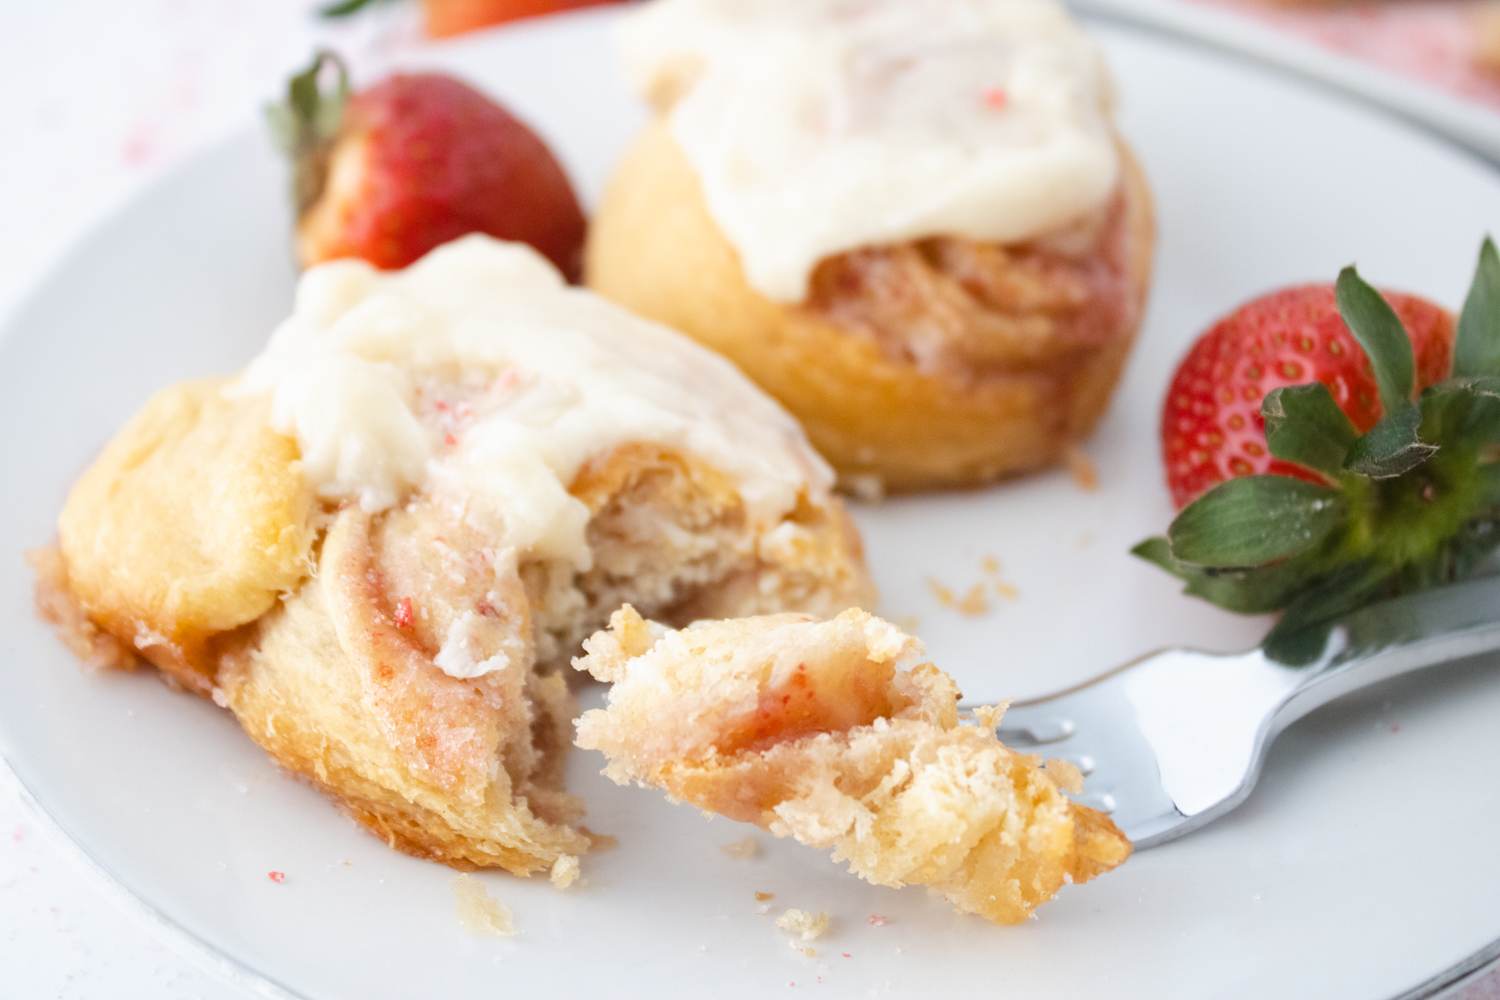
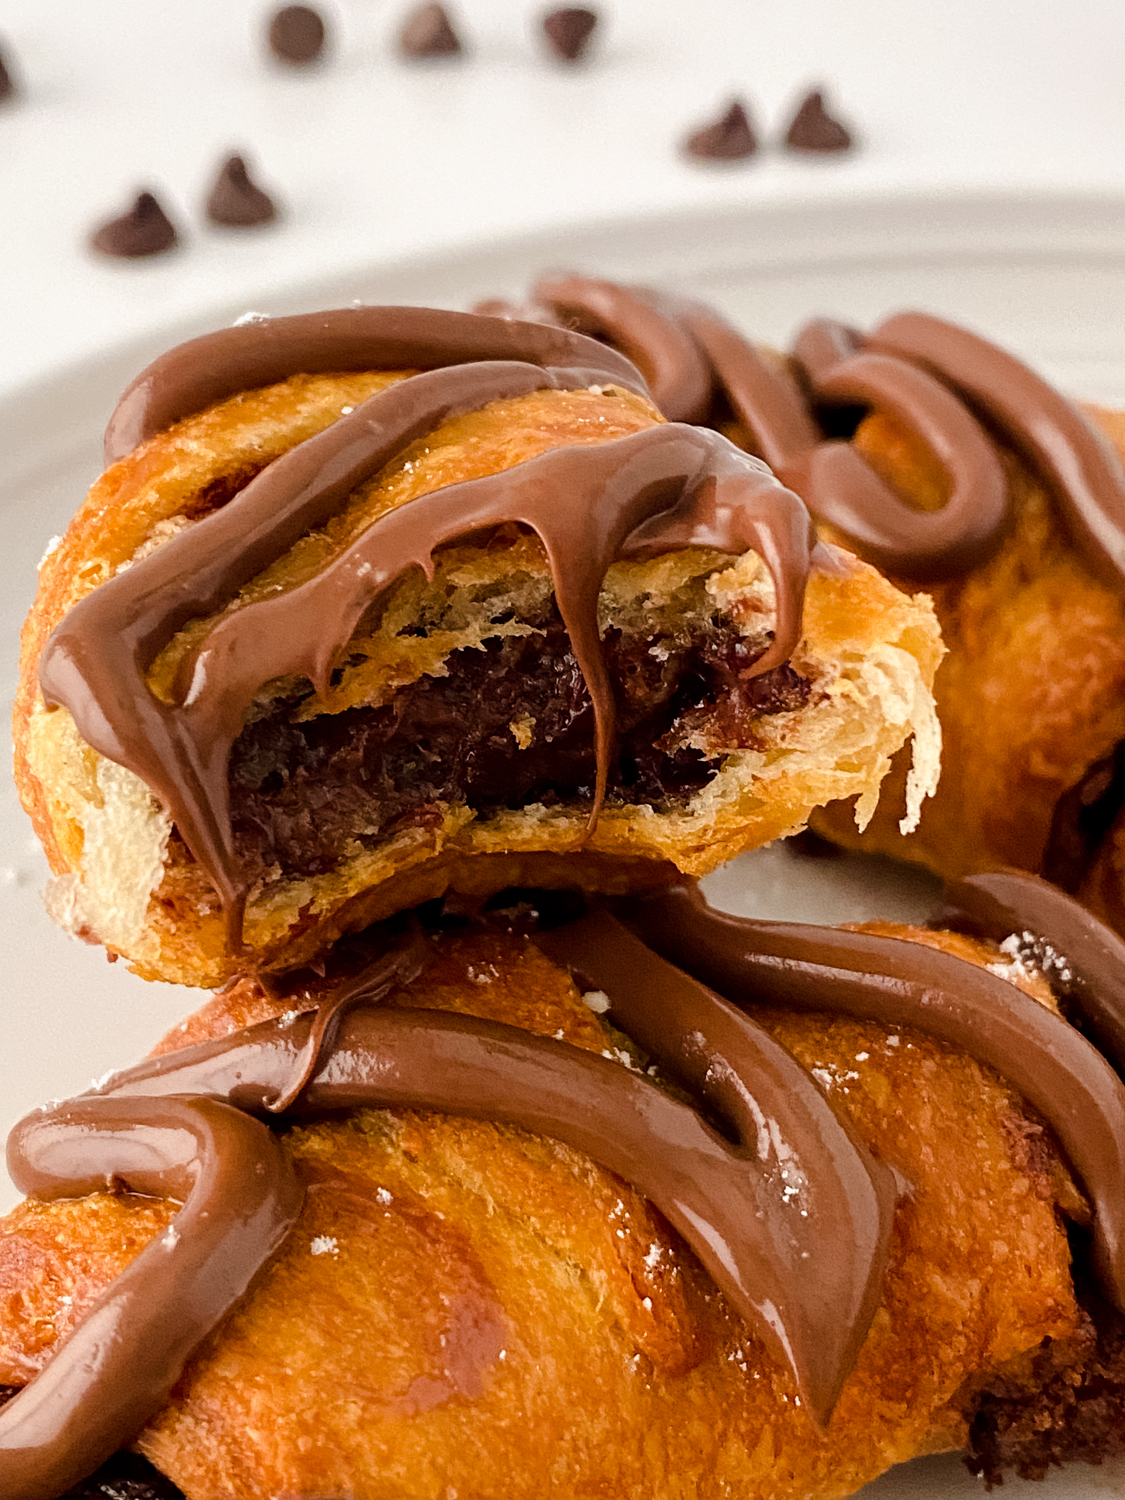
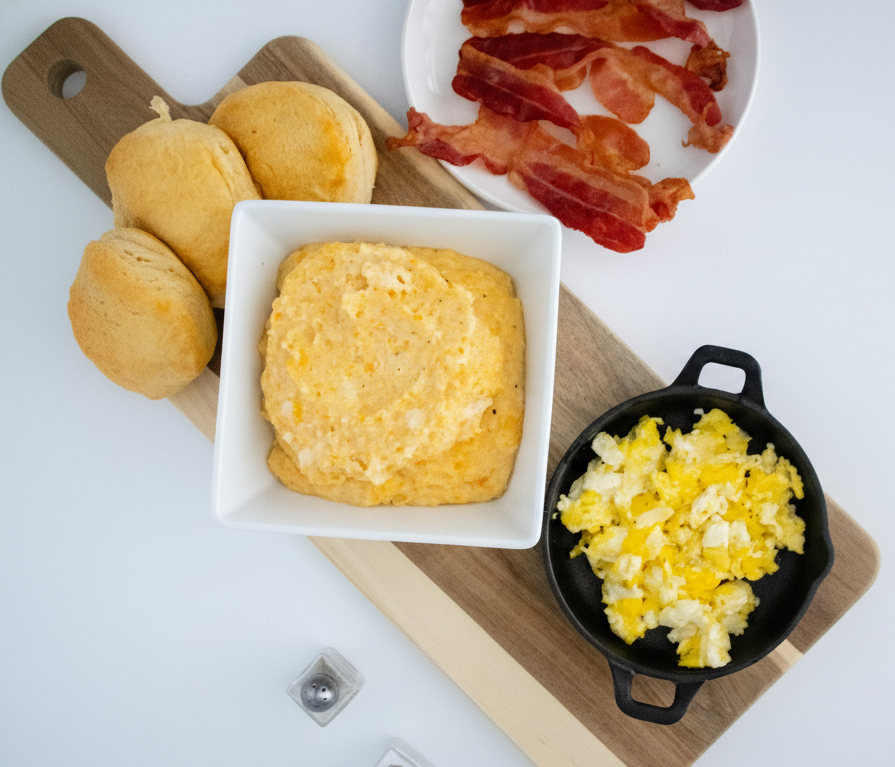
I love having a few easy breakfast recipes in my back pocket, especially when I want something that feels a little special without a lot of extra work. If you enjoyed these caramel apple Danish pastries, here are a few more sweet breakfast favorites that are perfect for cozy mornings, brunch gatherings, and weekend baking.

Final Thoughts
I love a good kitchen hack, and danish pastries have always been one of my favorite breakfast treats. There’s just something about a soft, sweet pastry with a cup of coffee that instantly makes the morning feel a little cozier. But as much as I love a bakery-style danish, I don’t always love the idea of making homemade pastry dough from scratch.
That’s exactly why these Caramel Apple Danish work so well. Starting with refrigerated crescent sheet dough keeps the recipe approachable, beginner-friendly, and realistic for busy home bakers while still delivering that soft, buttery pastry texture everyone loves.
Between the warm cinnamon apple filling, creamy center, sweet icing, and caramel drizzle, these pastries feel impressive without requiring complicated techniques. They’re cozy, comforting, and perfect for fall mornings, holiday brunches, or anytime you want something that feels a little special without spending all day in the kitchen.

Caramel Apple Danish Recipe
Equipment
- Large baking sheet
- Parchment Paper
- Heavy bottom pan or sauce pan
- (2) Medium mixing bowls
- Knife and cutting board
- whisk or hand held mixer
- Spoon or cookie scoop for filling
- Cooling rack (optional, but helpful for icing)
Ingredients
For the Danish
- 4 oz Cream cheese softened
- 1/4 cup Granulated sugar
- 1 Can crescent sheet dough or 2 cans crescent rolls
- Cooked apple filling (Provided below.)
For the Apple Filling
- 1 Large or 2 small Granny Smith apples peeled and diced
- 3-4 tbsp Unsalted butter
- 1 tsp Apple pie spice
- 1/2 cup Brown sugar
- 1 tsp vanilla extract
- 1 tbsp cornstarch
- 1 tbsp water
For the Icing
- 1 cup powdered sugar
- 1 tsp vanilla extract
- 2-2 tsp milk
Optional
- Caramel sauce for drizzle
Instructions
Prep for Baking
- Preheat oven to 350°F and line a baking sheet with parchment paper.
Make the Apple Filling
- Melt butter in a saucepan over medium heat. Add diced apples, brown sugar, and apple pie spice. Stir and bring to a gentle boil.
- Whisk together cornstarch and water in a small bowl. Stir the slurry and vanilla into the apples.
- Reduce heat to low and simmer for 3–4 minutes, or until the filling thickens slightly. Transfer to a bowl and let cool.
Assemble the Danish
- In a small bowl, mix cream cheese and sugar until smooth.
- Roll out crescent sheet dough. If using crescent rolls, pinch the seams together. Slice dough into rectangles.
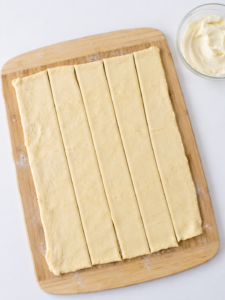
- Spread cream cheese mixture onto each rectangle.
- Starting from the long side, gently roll and twist the dough into a rope about 10 inches long.
- Loosely spiral each rope and tuck the seam underneath. Place on prepared baking sheet.
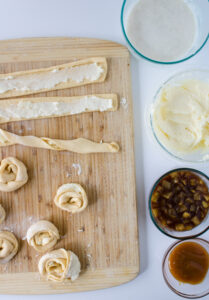
- Use the back of a spoon to press a small well into the center of each Danish.
- Spoon 1–2 tablespoons of apple filling into the center of each Danish.
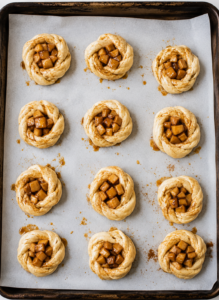
- Bake for 22–25 minutes, or until golden brown.
Prep Icing & Garnish
- Whisk together powdered sugar, vanilla extract, and milk until smooth.
- Cool danish for 10–15 minutes, then drizzle with icing and caramel sauce before serving.
Notes
- Crescent sheet dough makes this recipe much easier for beginner bakers.
- Don’t overfill the centers or the filling may spill during baking.
- Let the apple filling cool slightly before assembling the Danish.
- Store leftovers in the refrigerator for up to 3 days.